Yamaha Fazer Page (cont)


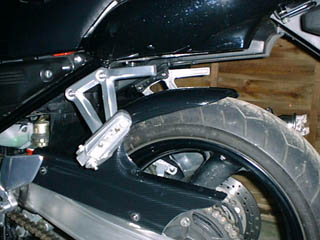
I had a ride out with a friend who also has a Fazer and was quite impressed by his rear Hugger so I decided to get one for my bike. A look through the M & P catalogue and I decided on the Powerbronze Carbon Look hugger. I chose the Powerbronze over the others for price and the fact that the Powerbronze Airflow screen was of good quality.

As usual M & P were very efficient and the hugger arrived on
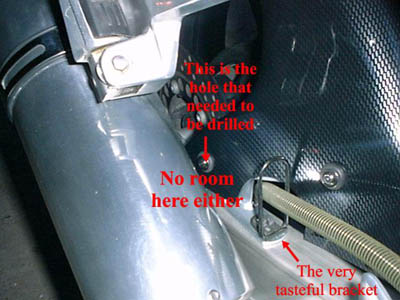
 schedule. The cost was £62 + P&P.
I unpacked the box to find the hugger covered in a protective layer of plastic, a small bag of grometts and screws and a bracket. It has to be said the bracket is an extremely ugly affair made from 3mm flat bar welded together and cadmium plated. A powder coated pressed steel bracket would have been more pleasing to the eye, however the thing is practically hidden behind the Hugger so not a great problem.
The hugger itself has a really good Carbon Look finish but does seem a little flimsy. Not a problem on the part over the wheel because it's shape gives it strength, but the chainguard part does seem fragile. Only time will tell on this issue but the thing looks very good fitted. The only thing I would mention is that the Hugger does not cover all the chain at the swinging arm end. The original chainguard does.

One really disappointing thing was the bracket - not only is it ugly and far too heavy for the job but
one of the mounting holes had not been drilled!!!


bracket.gif (5590 bytes)


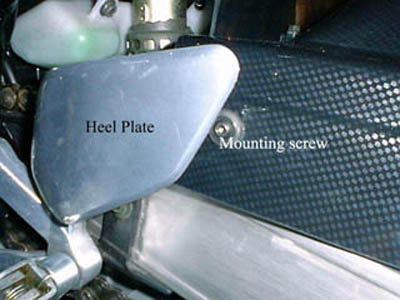
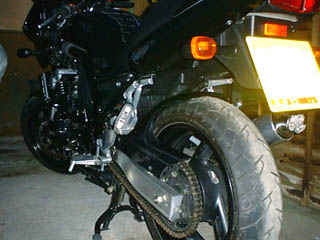
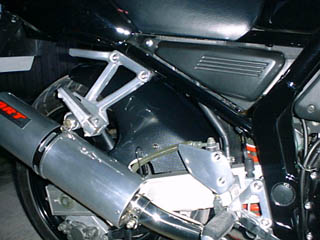
So I had to set to and drill a hole in the bracket before I could fit the Hugger.

Once the hole was drilled I set about fitting. The bracket is mounted to the swinging arm at the points where the rear brake hose is secured to the swinging arm. The hose mountings are removed and the bracket placed underneath them. This is a little awkward as the hose clip is not happy being raised to accommodate the bracket. I found that by fitting the front mounting first the hose clip was easier to get back on. The Hugger is mounted on the original chainguard mountings with new screws supplied and to the bracket at the other side. The Hugger is protected from the pressure of the screws by grommets and spacers fitted to the mounting holes before fitting. This is great as you cannot crack the Hugger by overtightening the screws! It should also give some protection from cracks by vibration. However it does mean the screws must be significantly longer to accommodate this. This did cause some problems.


hugger1.jpg (31489 bytes)

hugger2.jpg (35926 bytes)


The front mounting of the chainguard is almost behind the heel plate on the rider footpeg. There is not enough space between the hugger and the heel plate to get the longer screw in. By putting the screw in first you can actually begin to tighten it with fingers but there is not enough clearance to get an allen key in to tighten it properly. Ideally the heelplate should be loosened first to allow for tightening.
Similarly on the other side there is no room for the screw as it fouled the silencer so again this had to be loosened and moved out of the way. This may not be the case with the original silencer but with the ART alloy it was in the way.

If I had known all this beforehand fitting would have been much easier but the insructions that came with the Hugger made it sound so simple!!!

I believe that some makes of Hugger bolt straight on to the swinging arm at the exhaust side through the brake hose mounting holes. These must be easier to fit than using a bracket.

hugger3.jpg (27859 bytes)

hugger4.jpg (26356 bytes)

hugger5.jpg (28270 bytes)

hugger6.jpg (26795 bytes)

However, the Hugger is now fitted and all in all not too bad a job. If the instructions were a little more explicit I would have had all the necessary tools with me and fitting would have been easier.

Homepage

More